How to Add Unique Media to an Experience
Content:
What is unique media?
There are 5 different types of unique media:
- Text
- Images
- Videos
- Audio
- Links
The screens where unique media can be seen are:
- During an Experiences
- Add Media (when creating an experience)
- Edit Media (when editing a previous experience)
Why are they important?
Unique forms of media are essential to ensure that the explorers get all the visual triggers needed to go on an enjoyable experience. Adding your Audio Messages and Videos can add personality to your experiences allowing the explorers to more effectively foster a bond over the experience. Text and Images can add visuals and descriptions of each stop, allowing explorers to get a better understanding of the journey they are about to undergo.
You can take it one step further and add Markdown to your text to make important things stand out. Look at the syntax guideline below to help you get started!

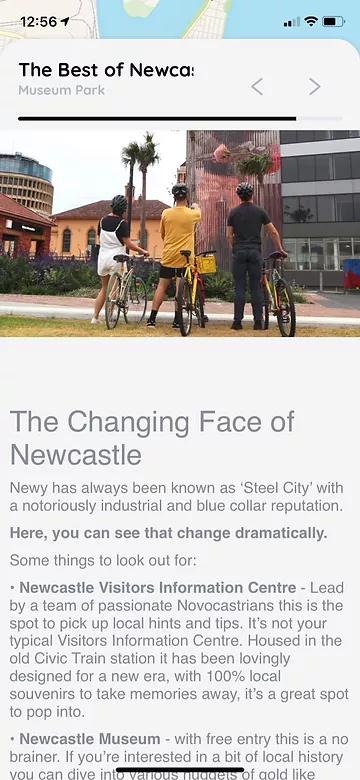
This is an example of one of our Super Experiences using "Markdown" to assist the readability of their experience.

How to add Unique Media?
Mobile App

1. Add media to a stop - either click on the media tab at top of screen or select next.

2. Select an option from the list of unique media we have provided.

a) Adding text, videos and images:
Select the option you would like and follow the prompts. If you are adding text, try to keep it unique and check your grammar using markdown which allows you to adjust the text (e.g. to bold a word you need to use, **word**).

b) Recording audio messages

c) Adding URLs
We recommend adding these links for things such as:
- Booking links
- Menu's
- Reservations
- Additional Information
- Contacts
Web App
1. Press the 'Add Media' option

2. Choose between the available options, you need to select a minimum of 2 different unique media per stop in order to get your experience approved.

3. Once you have added 2 different media to each of your stops, you can press ‘publish’ down below. This will send the experience to the FreeGuides Team and we will be in touch after reviewing it to let you know whether it is approved or what steps you need to take to fix it.


.png)
.png)


.svg)
.svg)
.svg)
.svg)